It's Getting Steamy
CSA

FIELD NOTES:
The tomatoes are out, the vines are cleared, and the high tunnels are ready for their seasonal makeover.But before winter greens move in, the soil gets a little spa treatment of its own. Enter: the soil steamer.It may not look particularly glamorous, but this machine is one of the most impressive pieces of equipment to watch in action. And getting it set up is definitely not for the faint of heart.
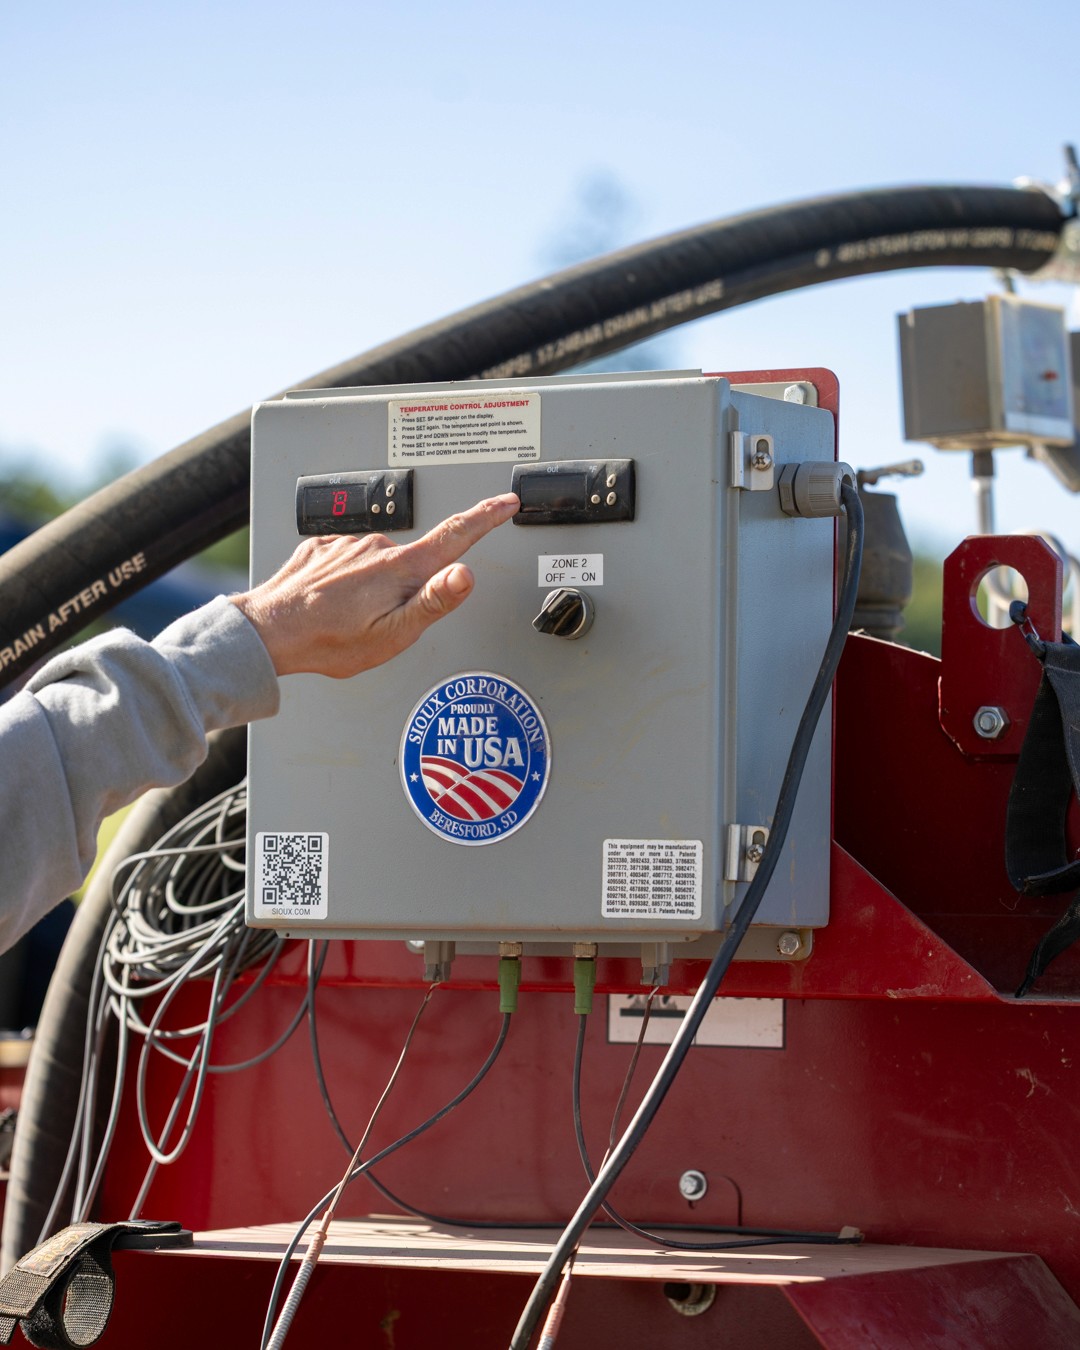
So, how does it work?
The basic idea is simple: steam + soil + heat + time.
The steamer generates steam, which is pushed through a series of heavy hoses. Those hoses are laid across the bed and are designed to release the steam through small holes along their length. Then comes the really important part: we cover the whole thing with a heavy-duty, heat-resistant tarp. And when we say heavy-duty, we mean it. The tarp is sealed around the perimeter with a series of very heavy chains, creating a tight seal so the steam can't simply escape into the high tunnel. Once everything is in place, the steam fills the hoses, escapes through the holes, and becomes trapped underneath the tarp. It’s essentially a big soil-filled hot pocket.We monitor the temperature and keep the steam going long enough to heat the soil to the desired temperature. That heat helps reduce certain soilborne pests, pathogens, and weed seeds that can accumulate through repeated cropping.

The part you don't see
The science is one thing but moving the equipment around is another. The hoses are heavy. The tarp is heavy. The chains are heavy. The steamer itself is heavy.Moving all of these pieces into place, pulling everything tight, rearranging the setup, and then doing it all over again for the next section is a serious physical undertaking.It is absolutely not a one-person job (though i’ve seen it done!...farmers are crazy) But this is where our crew gets pretty impressive. After enough repetitions, everyone falls into a rhythm — someone is pulling the hose, someone is positioning it, someone is wrestling the tarp into place, someone is hauling chains, and somehow the whole operation starts moving like a well-choreographed, slightly sweaty farm ballet. It takes coordination, muscle, and a healthy appreciation for very heavy objects.
From summer to winter
Once the steaming is finished, the tunnel gets another transformation. The tomato plants are long gone, the beds are prepped, and winter greens get their turn. Spinach, lettuce, kale, and other cool-season crops settle into the newly steamed beds, ready to keep growing as the temperatures outside drop. It's one of our favorite transitions of the season. One minute: towering tomato plants and summer harvests.Next minute: hoses, steam, giant tarps, and chains. And then, almost quietly, rows of tiny winter greens appear.The high tunnels don't really get an off-season.They just go from tomato mode to winter mode...with a steam-powered pit stop in between.
FARM HAPPENINGS:
The week has arrived. Applefest is upon us and the weather…is giving us some attitude. But we’ve decided we’ll be keeping things rolling rain or shine! We’ll be there with marigold chains to make, scarecrows to construct and of course apples to taste! The music will be under a tent so we’ll keep the musicians dry and singing…dancing… in the rain…hey, it can’t be that bad, there’s a whole movie about it. If severe weather makes an appearance, we’ll shut things down but a little shower never scared a farmer and it souldn’t scare you either!

HOW TO EAT YOUR VEGGIES: Rad Beans
This time of year white beans become a staple in our household. Hot, herby and creamy creations that go great on toast, the perfect quick protein to level up pasta or soup…this week we’re dressing them up with miso, radishes and greens.
Greens and radishes are currently abundant and are showing up in every share iterations this week. In this simple 10-minute take on beans and greens, creamy white beans are sautéed in butter and garlic, then crunchy radishes and tender greens are stirred in at the end for texture and crunch. A squeeze of lemon to finish tops it off with a brightness not to miss.
Ingredients
2 tablespoons white miso
4 tablespoons unsalted butter
2 cloves garlic, finely chopped
2 (15-ounce) cans white beans, such as cannellini or butter beans, rinsed and drained
3 cups pea shoots, arugula, or other baby greens
3–4 small radishes, thinly sliced
1 lemon, cut into wedges
Black pepper
Quick Steps
Mix the miso: Whisk miso with ¼ cup water until smooth. Set aside.
Make the garlic butter: Melt butter in a large skillet over medium heat. Add garlic and cook for about 30 seconds, until fragrant.
Add beans: Stir in the beans, coating them in the garlic butter. Pour in the miso mixture and cook for about 2 minutes, until the beans are hot and the sauce is slightly thickened. Add a splash more water if needed.
Add the fresh stuff: Remove from heat and gently stir in the greens and sliced radishes until the greens just wilt.
Finish: Squeeze generously with lemon juice and season with black pepper. Serve warm.